Android Studio Tutorial: How to make a custom curve button
Published: June 10, 2020

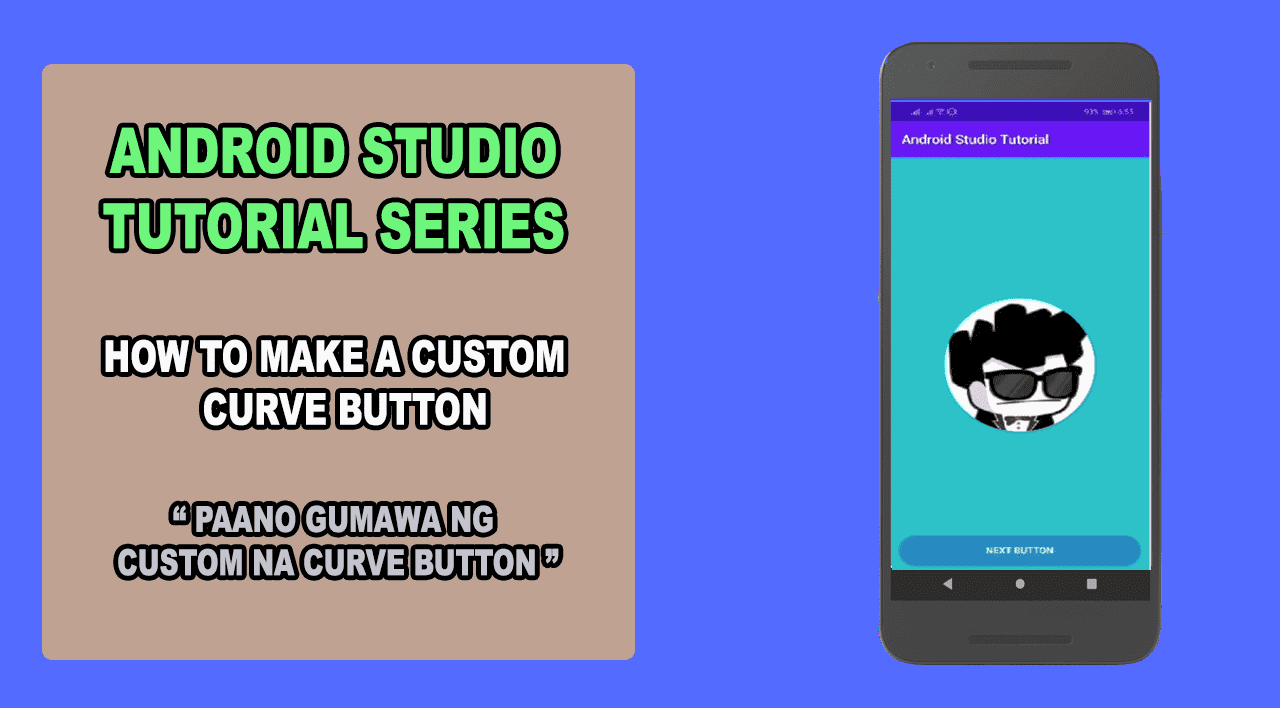
This simple Android Studio Tutorial Series on How to make custom curve button. Just follow and copy the code below.
Create a custom layout in drawable folder
app>src>main>res>drawable>btn_primary.xml
btn_primary.xml
  <?xml version="1.0" encoding="utf-8"?>
  <shape xmlns:android = "http://schemas.android.com/apk/res/android"
      android:shape="rectangle">
      <corners android:radius="24dp"/>
      <solid android:color="#905170CD"/>
  </shape>
You now have custom layout that can be used on any background widget layout like button on the example below
activity_main.xml
<?xml version="1.0" encoding="utf-8"?>
<FrameLayout xmlns:android = "http://schemas.android.com/apk/res/android"
    xmlns:app="http://schemas.android.com/apk/res-auto"
    xmlns:tools="http://schemas.android.com/tools"
    android:layout_width="match_parent"
    android:layout_heigh="match_parent"
    tools:context=".MainActivity">
    <TextView
        android:layout_width="wrap_content"
        android:layout_width="wrap_content"
        android:text="Hello World this is Page 1!"
        android:textSize="15dp"
        android:visibility="gone"
        android:layout_gravity="center"/>
    <de.hdodenhof.circleimageview.CircleImageView
        android:id="@+id/button"
        android:layout_width="wrap_content"
        android:layout_width="wrap_content"
        android:layout_gravity="center"
        android:src="@drawable/img_logo_admin_grabs_media"/>
    <Button
        android:id="@+id/button"
        android:layout_width="match_parent"
        android:layout_width="match_parent"
        android:background="@drawable/btn_primary"
        android:textColor="#ffffff"
        android:layout_gravity="bottom"
        android:text="Next Button"
        android:layout_margin="12dp"/>
</FrameLayout>
You can Download the source on GitHub and Follow the full video tutorial on YouTube. Don't forget to subscribe to the YouTube channel for more updates.
Download at GitHub Visit on YouTube
I will post again on this site and upload on YouTube about my next tutorial. Stay tune up and follow my other social media platforms for more updates.
 Android Splash Tutorial
 Android Button click Tutorial
 How to make Circle Image